The US Department of State uses multiple websites for US visa appointments. One of them is the AIS website, generally referred to as “AIS US Visa Info”. If you live in Canada, Mexico, South America, some parts of Europe, Africa and the Middle East, you must use the AIS portal to schedule US visa appointment.
The official name of AIS portal is “U.S. VISA Information and Appointment Services”. Visa applicants sometimes refer to this portal as GDIT or Yatri.
GDIT (General Dynamics Information Technology) is the company that owns and operates Yatri, a cloud-based system that provides consular services for the US Department of State. AIS US Visa Info is part of the Yatri system.
Table of Contents
***
How to Use This Step-by-Step Guide?
Before you start with the process, go through my comprehensive guide on US visa appointment to understand the eligibility, prerequisites and country-specific appointment portals for scheduling the visa interview.
Then, follow along this step-by-step guide to schedule the visa appointment for your US visa. There are screenshots and instructions to guide you. For each question, there is a comment explaining what exactly needs to be entered.
IMPORTANT
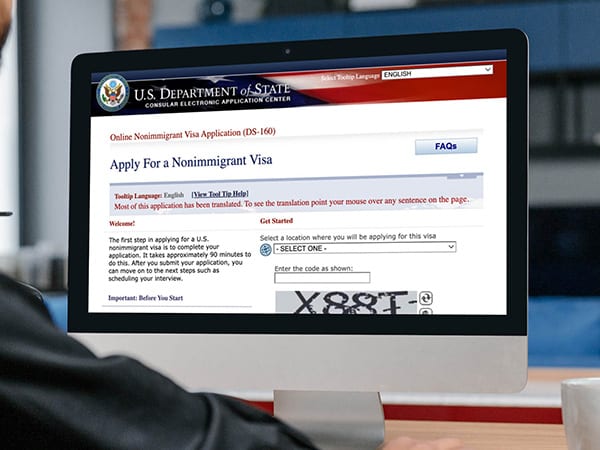
As a prerequisite, you must complete the DS-160 form prior to scheduling your US visa appointment. If you haven’t yet, follow this guide on how to fill DS-160 form.
***
Who Should Use AIS Portal to Schedule US Visa Appointment?
Determine the country where you plan to schedule your US visa appointment. If the country is in the below list, continue with the instructions in this guide.
If your country is not in the below list, check if you would need to schedule your US visa appointment on US Travel Docs (CGI Federal), NIV Appointment System or U.S. Visa Scheduling.
NORTH AMERICA
- Canada
- Mexico
CENTRAL AMERICA
- Belize
CARIBBEAN
- Bahamas
- Barbados
- Jamaica
- Trinidad and Tobago
SOUTH AMERICA
- Argentina
- Brazil
- Bolivia
- Chile
- Colombia
- Ecuador
- Guyana
- Paraguay
- Peru
- Uruguay
EUROPE
- Albania
- Andorra
- Armenia
- Azerbaijan
- Belgium
- Bosnia and Herzegovina
- Croatia
- Cyprus
- France
- Greece
- Ireland
- Italy
- Kosovo
- Netherlands
- North Macedonia
- Portugal
- Serbia
- Spain
- Turkey
- United Kingdom
MIDDLE EAST
- Israel
- United Arab Emirates
- Iran
AFRICA
- Angola
- Cabo Verde
- Cameroon
- Congo, Dem Rep
- Ethiopia
- Kenya
- Rwanda
- Senegal
- South Africa
- Tanzania
- Uganda
- Zambia
***
Steps to Schedule US Visa Appointment on AIS US Visa Info (GDIT/Yatri)
01. Account Creation
a. Start
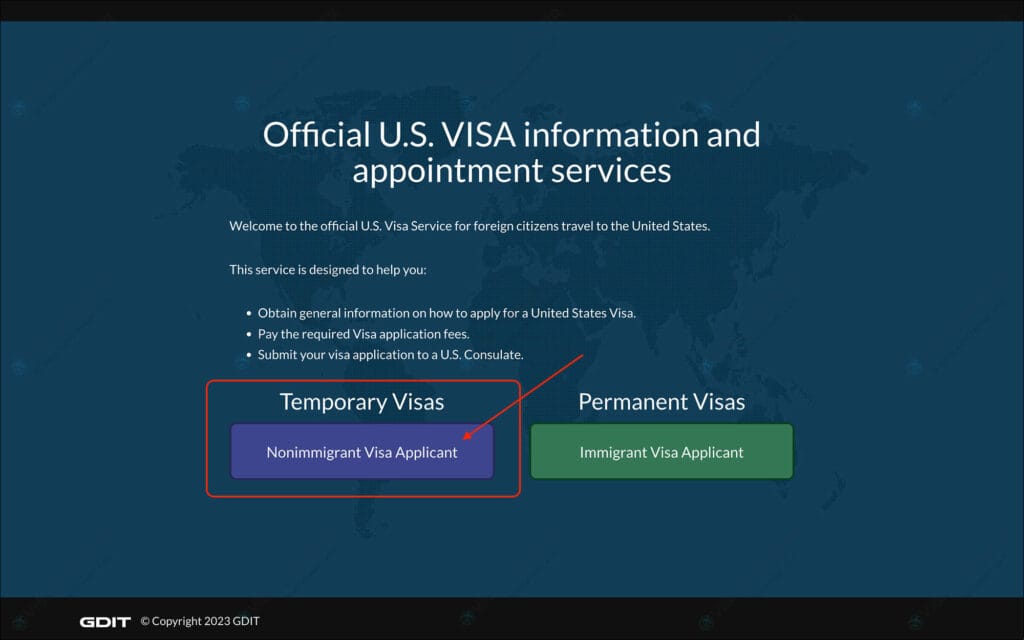
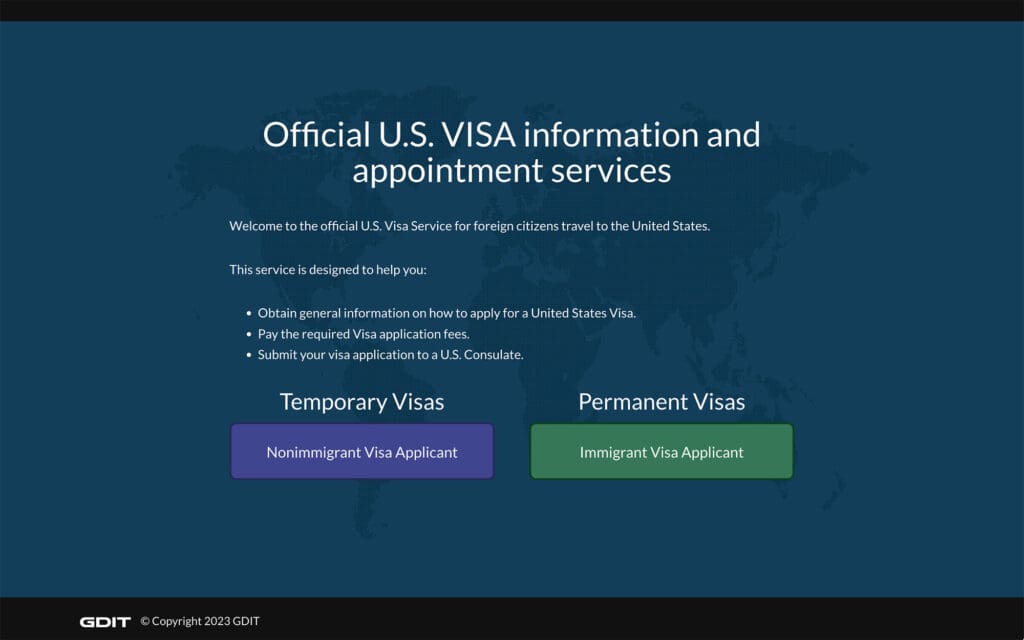
- Go to the AIS US Visa Info website
- Click on the blue “Nonimmigrant Visa Applicant” button
You will be taken to the “Consulate Locations” page.
b. Consulate Location
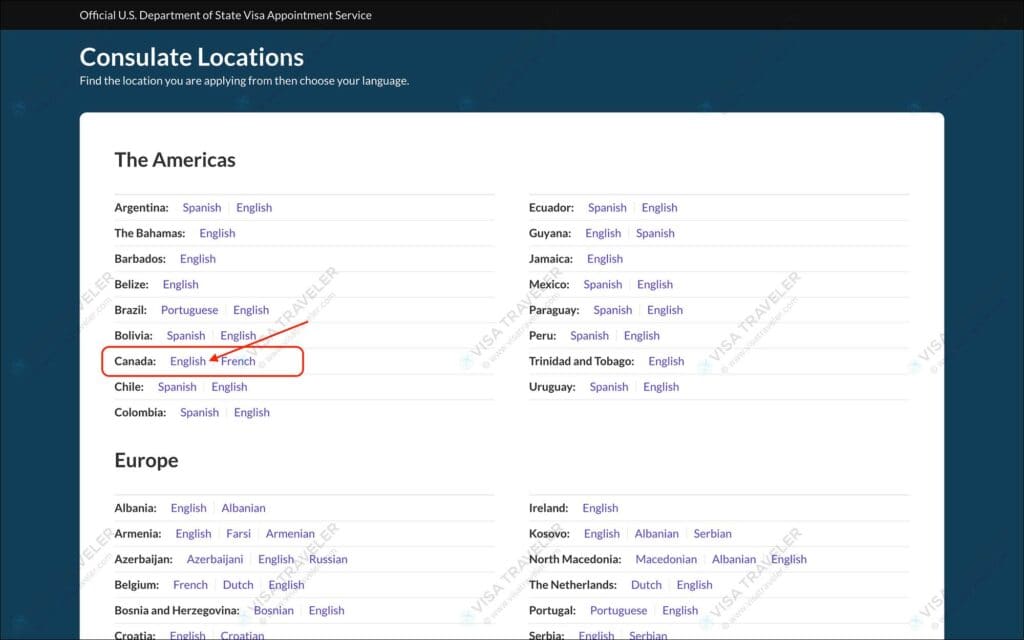
- Click on the “English” link for the country where you would like to schedule US visa appointment
You will be taken the homepage of the country you have selected. Bookmark this link as you will need it to check your payment and visa status later.
NOTE
As an example, I’m using Canada in the above screenshot. But I’m using UAE (Dubai) as the country for the rest of this guide. The steps are the same for any country you select, be it Canada, Mexico, UAE or Belgium.
c. Apply
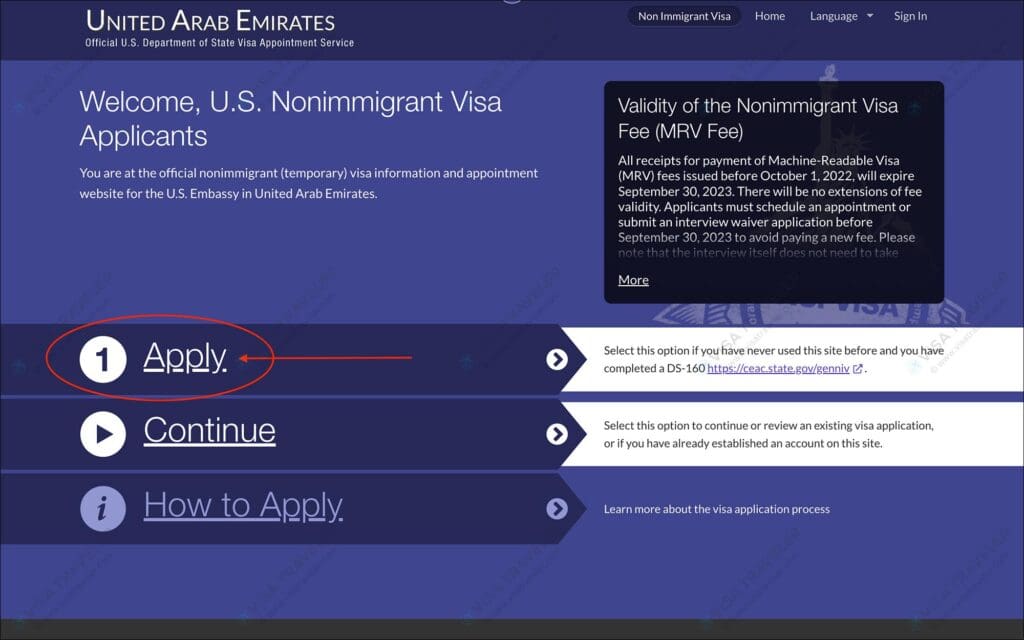
- Click the “Apply” link on this page
d. Sign Up Conditions
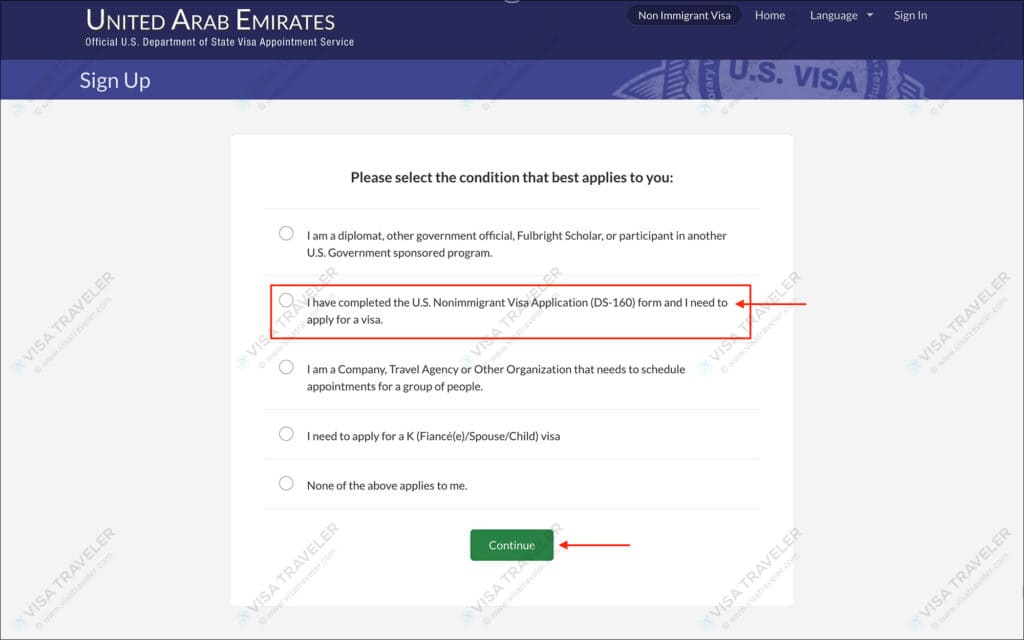
Select the following option on this page.
- Please select the condition that best applies to you: [Instruction: Select “I have completed U.S. Nonimmigrant Visa application (DS-160) form and I need to apply for a visa” from the options]
- [OPTIONS]
- I am a diplomat, other government official, Fulbright Scholar, or participant in another U.S. Government sponsored program.
- I have completed U.S. Nonimmigrant Visa application (DS-160) form and I need to apply for a visa.
- I am a Company, Travel Agent, or Other Organization that needs to schedule appointments for a group of people.
- I need to apply for a K (Fiancé(e)/Spouse/Child) visa.
- None of the above applies to me.
Click on the green “Continue” button to go to the next step.
e. Sign Up Form
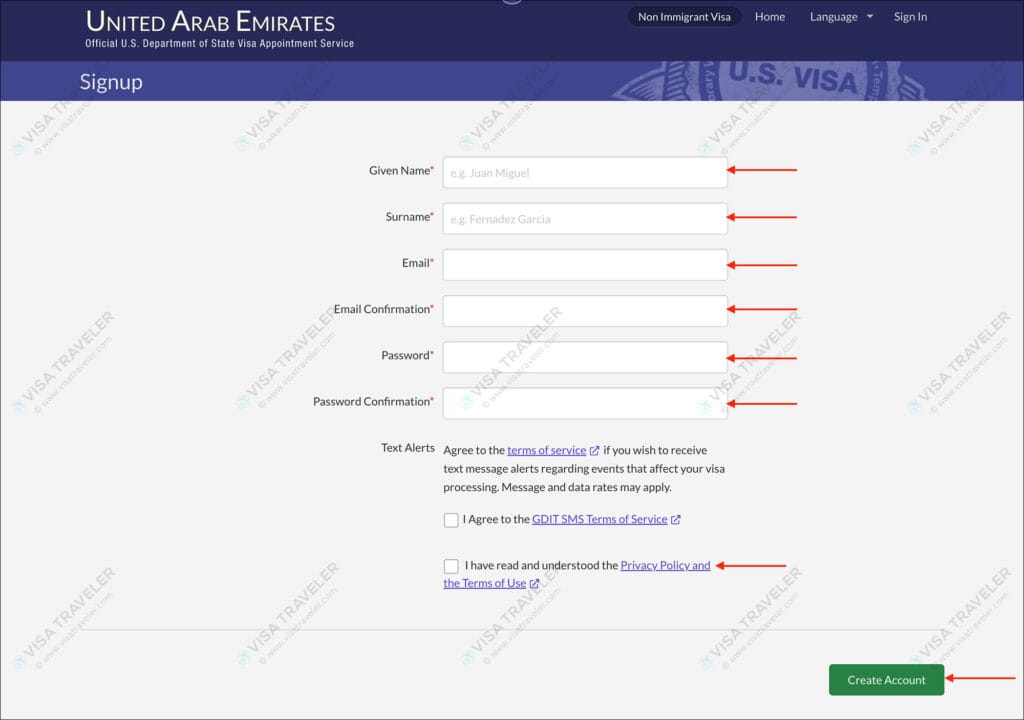
Enter the following information in the signup form.
- Given Name [Instruction: Enter your given name from your passport. If you have a middle name in your passport, enter your middle name followed by your first name]
- Surname [Instruction: Enter your surname from your passport]
- Email [Instruction: Enter your email]
- Email Confirmation [Instruction: Reenter your email]
- Password [Instruction: Enter a password for your profile]
- Password Confirmation [Instruction: Reenter the password]
- Text Alerts [Instruction: You can skip checking this box as you can opt for SMS alerts in the next upcoming steps]
Check the box for “Privacy Policy and Terms of Use” and click on the green “Create Account” button.
You will be taken to the “Activate Your Account” page.
IMPORTANT
It is very important that the information you enter matches your passport and DS-160. These details will be copied into your application page in the later steps. So make sure they are correct and match your passport.
f. Activate Your Account
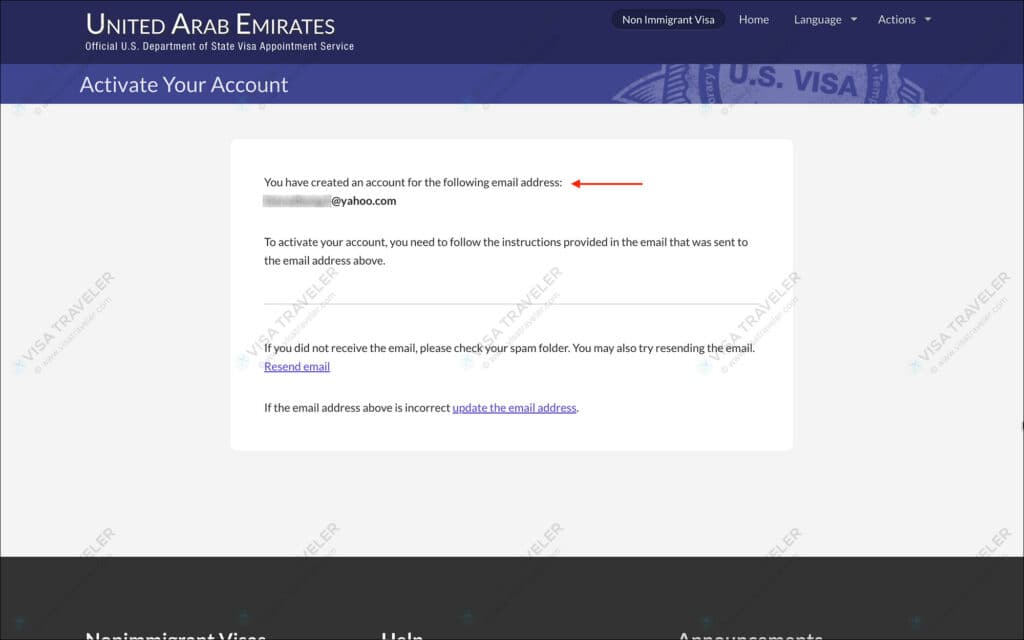
Once you create your account, you will be taken to the “Activate Your Account” page.
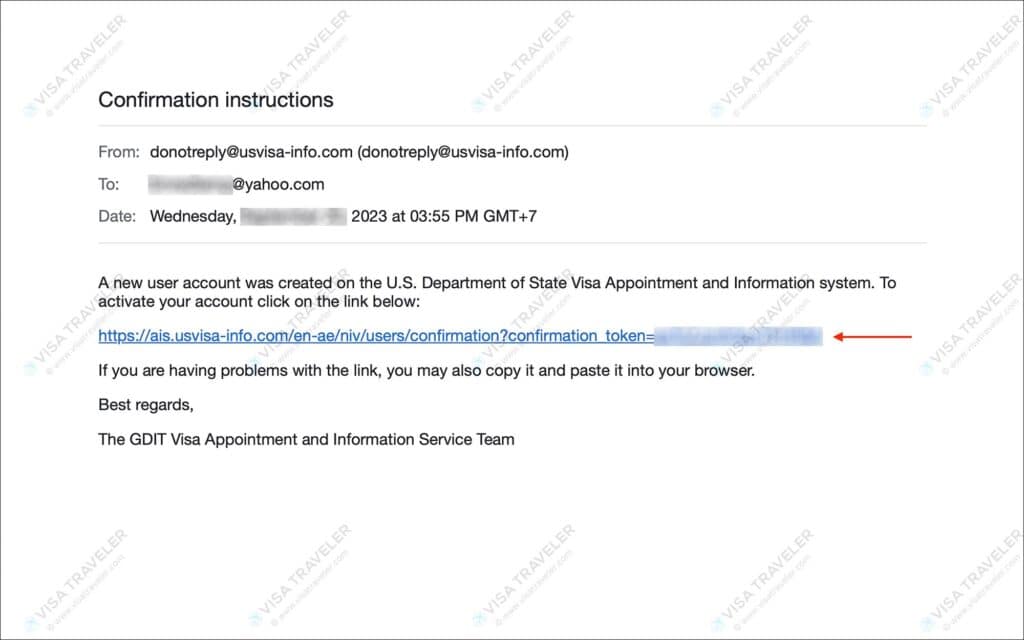
Check your email for an activation email from the AIS US visa info website. Click on the activation link in the email. You will be taken to the “Your Account is Activated” page.
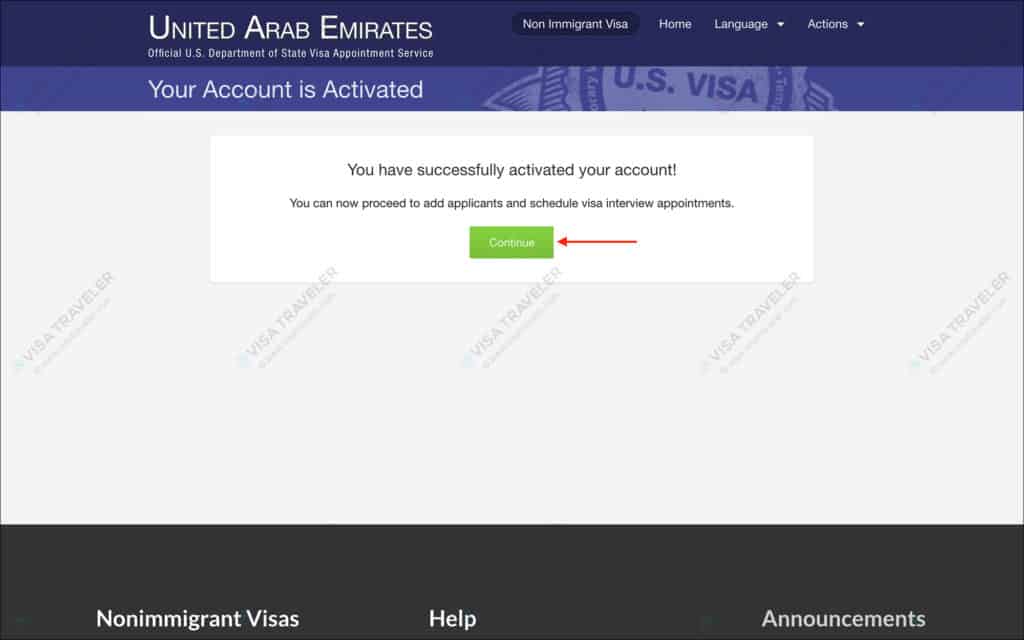
Click on the green “Continue” button to go to the “New Applicant” page.
—
02. Applicant Information
a. New Applicant
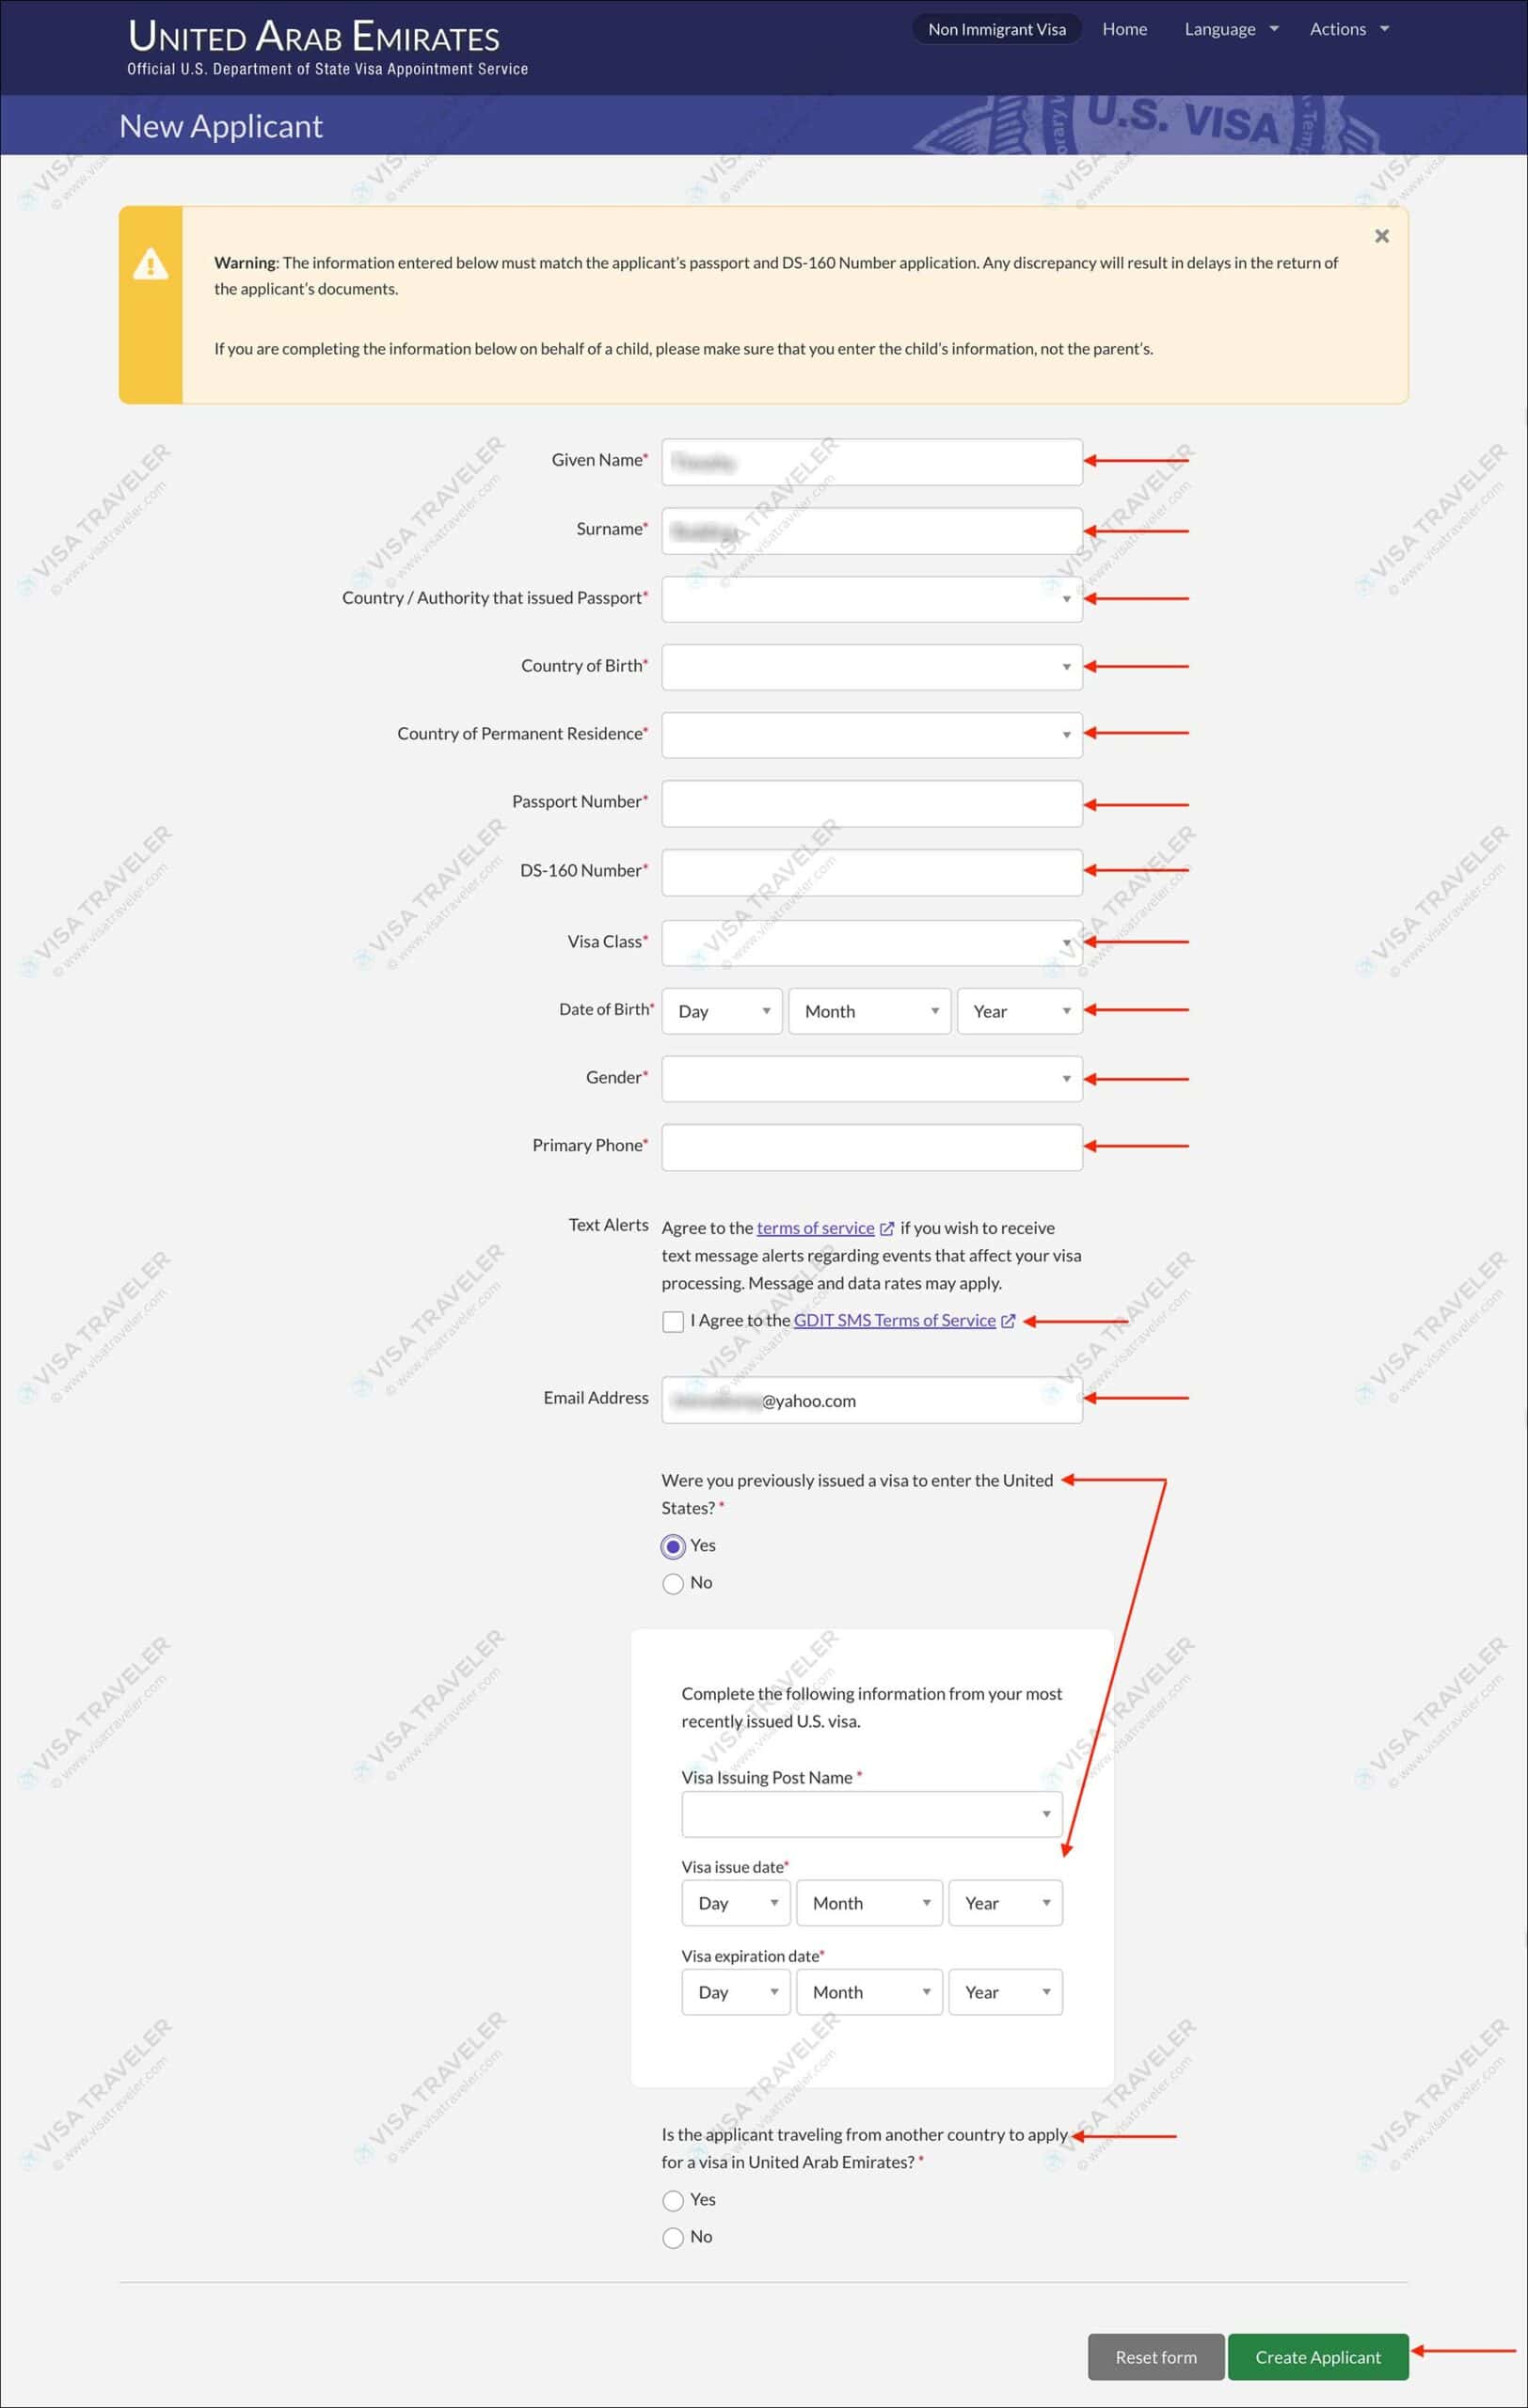
Enter the following information.
- Given Name [Instruction: Your given name will be populated by default. Review it to make sure it matches your passport. Fix it if here if it doesn’t]
- Surname [Instruction: Your surname will be populated by default. Review it to make sure it matches your passport. Fix it if here if it doesn’t]
- Country/Authority that issued Passport [Instruction: Enter the country of your passport]
- Country of Birth [Instruction: Enter your country of birth]
- Country of Permanent Residence [Instruction: Enter the country where you currently live]
- Passport Number [Instruction: Enter your passport number]
- DS-160 Number [Instruction: Enter your DS-160 confirmation number]
- Visa Class [Instruction: Select “B1/B2 Business & Tourism (Temporary visitor)” from options. Note: This visa class must match the visa class selected in your DS-160]
- [Dropdown Options]
- B1 Business/Conference/Domestic Employee
- B1/B2 Business & Tourism (Temporary visitor)
- B2 Tourism/Medical Treatment
- C1 Transit
- C1/D Crewmember in transit
- D1 Crewmember
- E1 Treaty Trader / Child of an E1 / Spouse of an E1
- E2 Treaty Investor / Child of E2 / Spouse of an E2
- E3 Australian Spec. Worker
- E3D Spouse or Child of an E3
- F1 Student
- F2 Spouse or Child of an F1
- F3 Commuter Student
- H1B Speciality Occupation
- H1B1 Chilean or Singaporean Spec. Occupation
- H1C Nurse in shortage area
- H2A Agricultural Worker
- H2B Nonagricultural Worker
- H3 Trainee
- H4 Spouse / Child of H1B
- H4 Spouse / Child of H1B1
- H4 Spouse / Child of H1C
- H4 Spouse / Child of H2A
- H4 Spouse / Child of H2B
- H4 Spouse / Child of H3
- I Foreign Media Representative / Spouse or Child of an I
- J1 Exchange Visitor
- J2 Spouse or Child of a J1
- L1 Intra-company Transferee
- L2 Spouse or Child of an L1
- M1 Student
- M2 Spouse or Child of an M1
- M3 Commuter Student
- O1 Extraordinary Ability
- O2 Alien Accompanying/Assisting
- O3 Spouse or Child of an O1 or O2
- P1 Internationally Recognized Alien
- P2 Artist/Entertainer Exchange Program
- P3 Artist / Entertainer in Cultural Program
- P4 Spouse or Child of a P1, P2, or P3
- Q1 Cultural Exchange Visitor
- R1 Religious Worker
- R2 Spouse or Child of an R1
- T1 Victim of Trafficking
- T2 Spouse of a T1
- T3 Child of a T1
- T4 Parent of a T1
- T5 Sibling of a T1
- TD Spouse or Child of a TN
- TN NAFTA Professional
- U1 Victim of Crime
- U2 Spouse of a U1
- U3 Child of a U1
- U4 Parent of a U1
- U5 Sibling of a U1
- Date of Birth [Instruction: Enter your date of birth]
- Gender [Instruction: Enter your gender]
- Primary Phone [Instruction: Enter your cell phone number where you can reached at any time]
- Text Alerts [Instruction: Agree to terms of service so you can receive SMS alerts of your visa status]
- Email Address [Instruction: Enter your email address]
- Were you previously issued a visa to enter the United States? [Instruction: Select “No”. Select “Yes” if you were issued a visa to the US before. This question will determine if you qualify for an interview waiver]
- Is the applicant traveling from another country to apply for a visa in
[Instruction: Select “No”. Select “Yes” if you reside in a different country but will be traveling to this country for the interview]
Click on the green “Create Applicant” button. You will be taken to the “Confirm Applicant and Visa Information” page.
b. Confirm Applicant and Visa Information
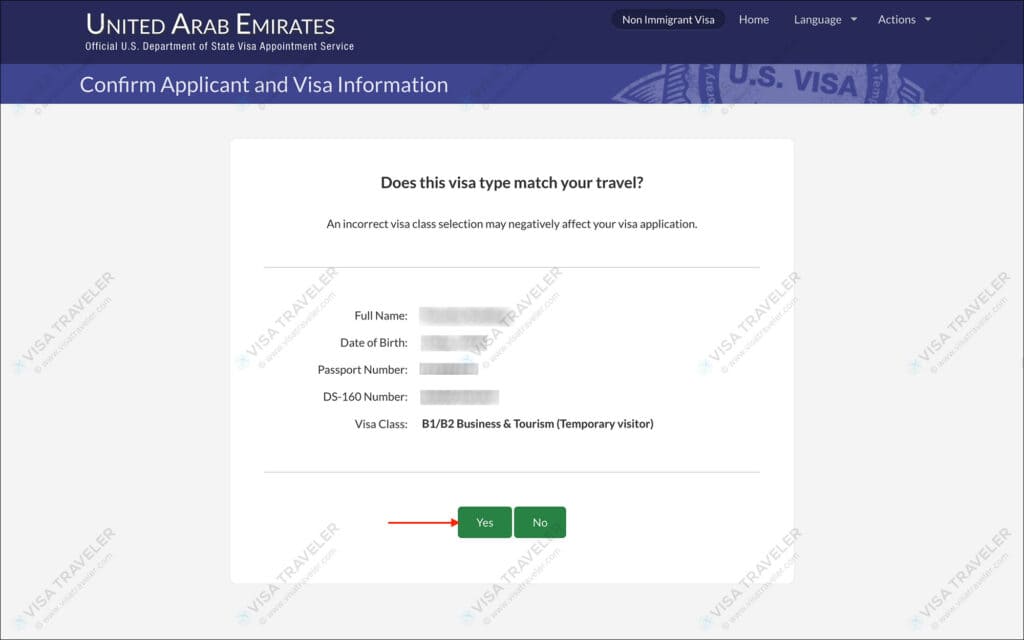
- Does this Visa Type match your travel? [Instruction: Review the entered information and select “Yes”. Select “No” if you see any discrepancies or errors]
c. Special Conditions
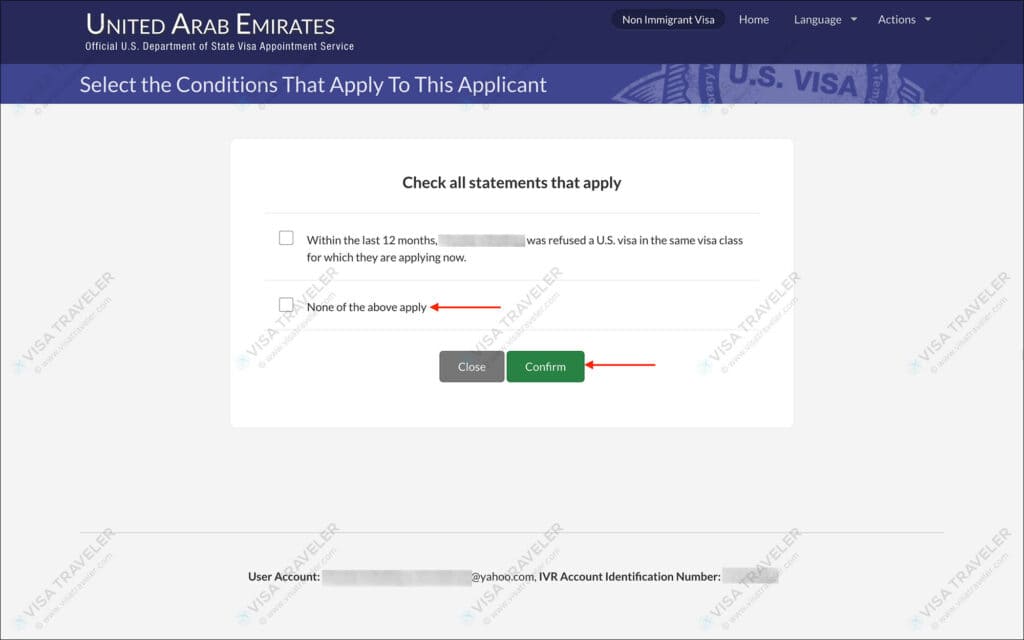
- Check all statements that apply [Instruction: Select “None of the above apply”. Select the other option if you were refused a US before]
Click on the green “Confirm” button to go to the “Dependents” page.
d. Dependents
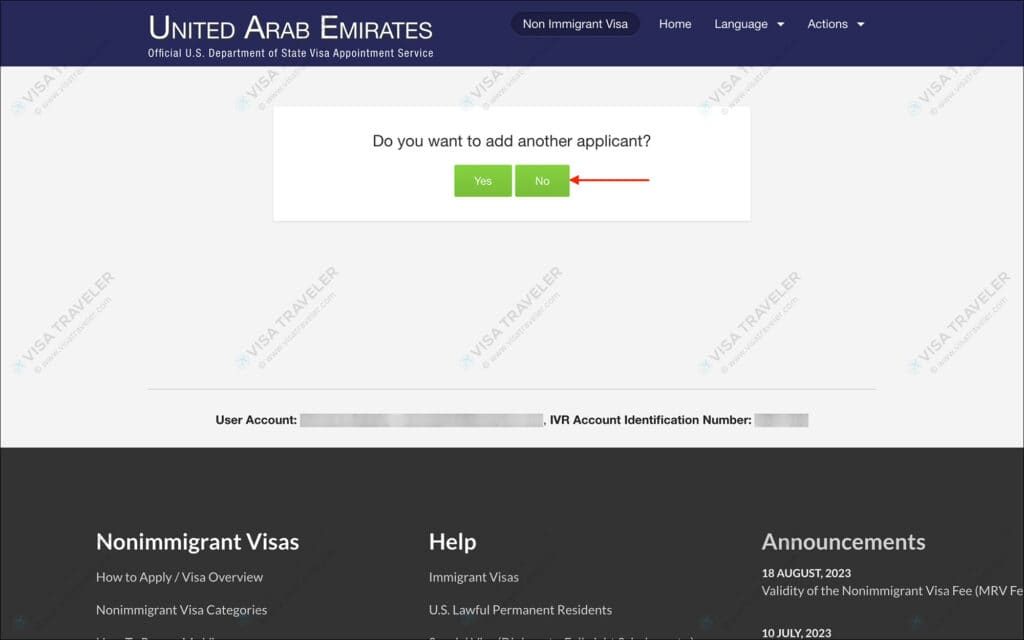
- Do you want to add another applicant? [Instruction: Click “No” to continue to the next step. Click “Yes” if you have dependents who will attend the interview along with you]
If you clicked on the “No” button, you will be taken the “Courier Details” page. If you clicked on the “Yes” button, you will taken to the “New Applicant” page to add your dependent’s details.

If you clicked “Yes” for the dependents, enter your dependent details.
- Given Name [Instruction: Enter your dependent’s given name from their passport. If they have a middle name, enter their middle name followed by their first name]
- Surname [Instruction: Enter your dependent’s surname from their passport]
- Country/Authority that issued Passport [Instruction: Enter the country of your dependent’s passport]
- Country of Birth [Instruction: Enter your dependent’s country of birth]
- Country of Permanent Residence [Instruction: Enter the country where your dependent currently live]
- Passport Number [Instruction: Enter your dependent’s passport number]
- DS-160 Number [Instruction: Enter your dependent’s DS-160 number]
- Visa Class [Instruction:Select “B1/B2 Business & Tourism (Temporary visitor)” from options]
- [Dropdown Options]
- B1/B2 Business & Tourism (Temporary visitor)
- Date of Birth [Instruction: Enter your dependent’s date of birth]
- Gender [Instruction: Enter your dependent’s gender]
- Primary Phone [Instruction: Enter your dependent’s cell phone number where they can be reached]
- Text Alerts [Instruction: Agree to terms of service]
- Email Address [Instruction: Enter your dependent’s email address]
- Were you previously issued a visa to enter the United States? [Instruction: Select “No”. Select “Yes” if your dependent were issued a visa to the US before]
- Is the applicant traveling from another country to apply for a visa in
[Instruction: Select “No”. Select “Yes” if your dependent resides in a different country but they will be traveling to this country for interview]
Click on “Create Applicant” to add the dependent. Repeat this step if you need to add more dependents. If you don’t have anymore dependents to add, you will be taken to the “Courier Details” page.
03. Courier Details
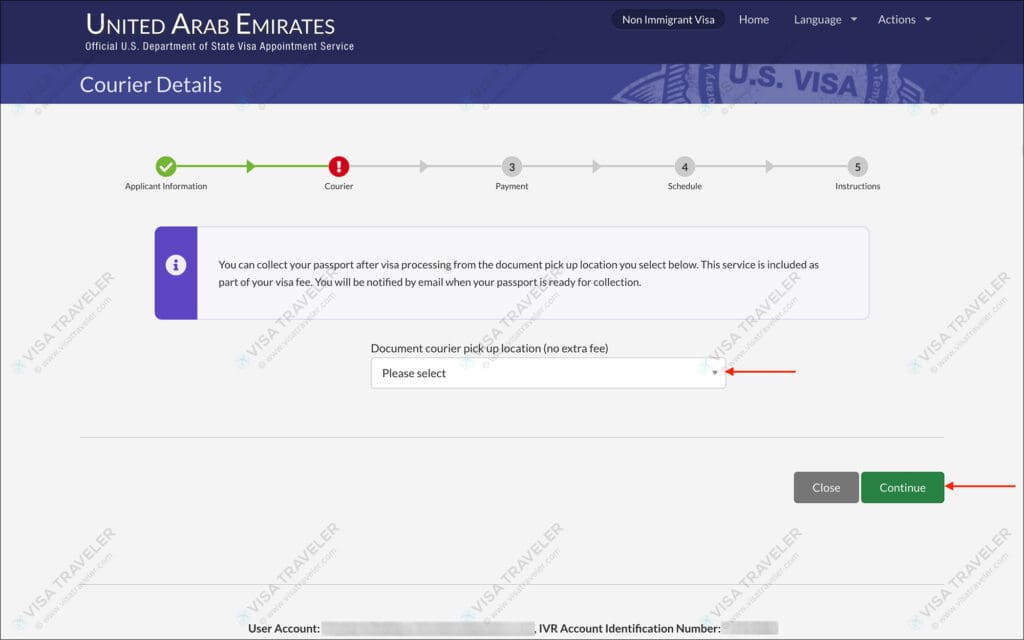
- Document courier pick up location (no extra fee) [Instruction: Select the location where you would like to pick up your passport from]
Click on the green “Continue” button to go to the “Payment” page.
04. Payment
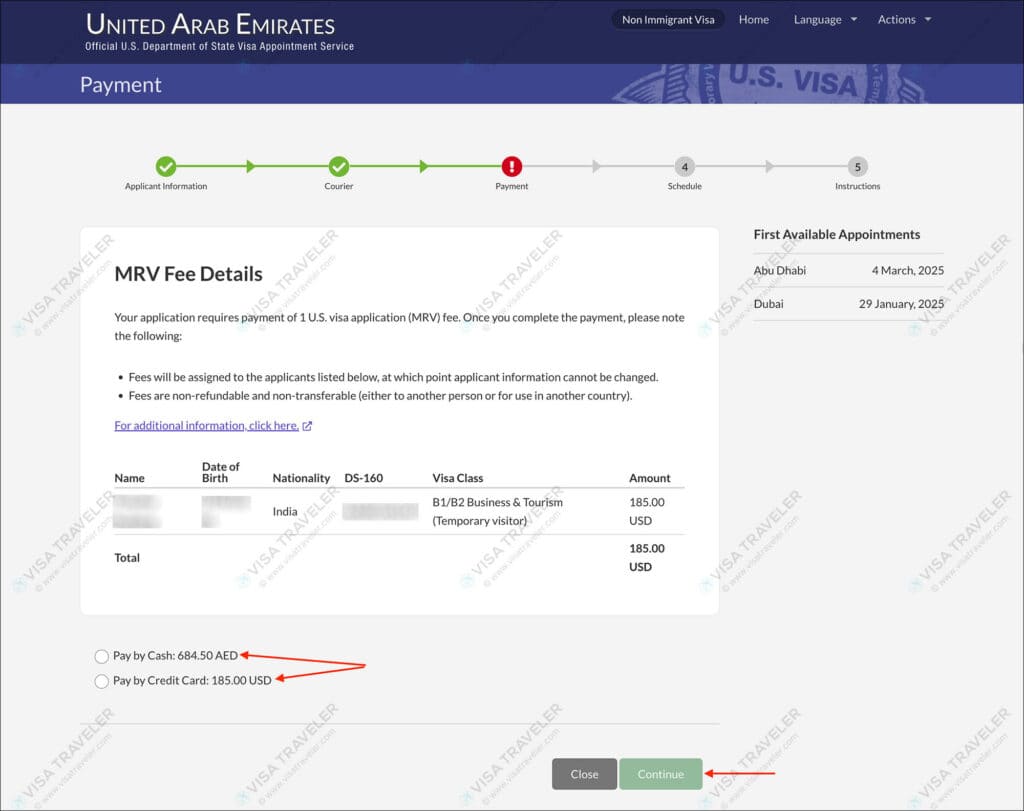
On this page, you will see different payment options. At this point, the visa application is already saved. Familiarize yourself with the payment options and pick the payment method that works best for you.
Available Payment Methods
- Pay by Cash
- Pay by Credit Card
Select the payment method and click on the green “Continue” button. You will be shown a popup.
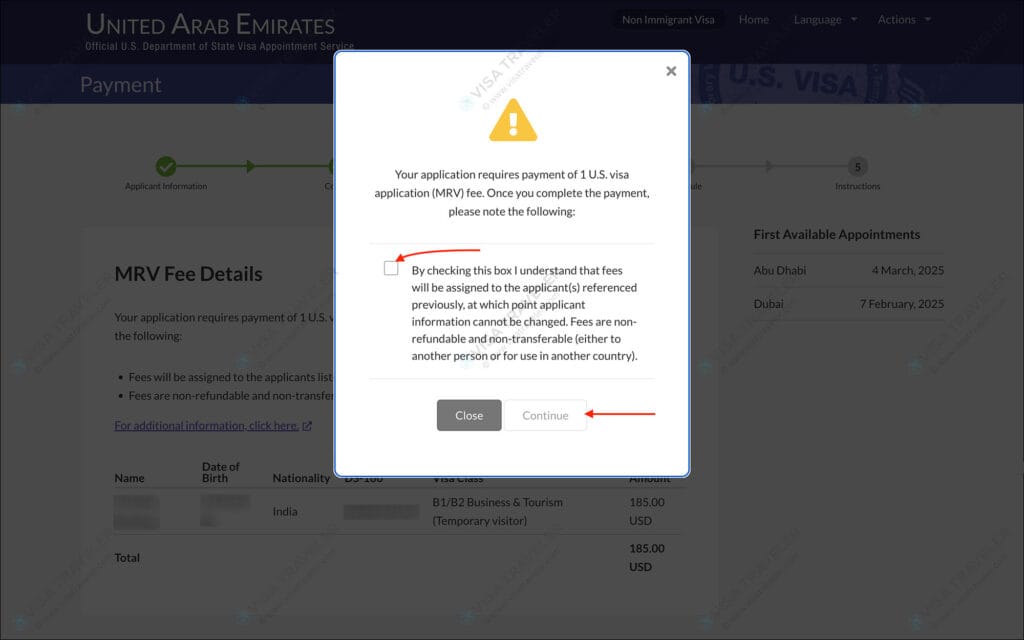
- Check the box for “By checking this box I understand that fees will be…” and click on the “Continue” button.
a. Pay by Cash

If you have selected the option “Pay by Cash” on the previous page, you will taken to the cash payment instructions page. Follow the below steps to pay your visa fee in cash at a designated local bank.
- On the “Cash Payment” page, click on the green “Download Instructions” button
- This will download the instructions in PDF format
- Print and bring two copies of these instructions to the bank
- Handover one copy of the instructions to the bank clerk and remit the MRV fee
NOTE
The PIN and bank account numbers mentioned in the instructions PDF are unique to your visa application. The instructions are also valid for 5 days. If you fail to pay within 5 days, the PIN and account numbers become invalid. In that case, you must download the instructions again for new PIN and bank accounts.
Cash payments are automatically confirmed and updated in your application within 2 business days. Go back into your application and check the status of your payment. Below are the steps to check your payment status.

- Go to the AIS US Visa login page for your country (You can use ais.usvisa-info.com link to get the country page)
- Click on the “Continue” link
- Enter your login credentials and click on the green “Sign In” button.
You will be taken to your account dashboard.
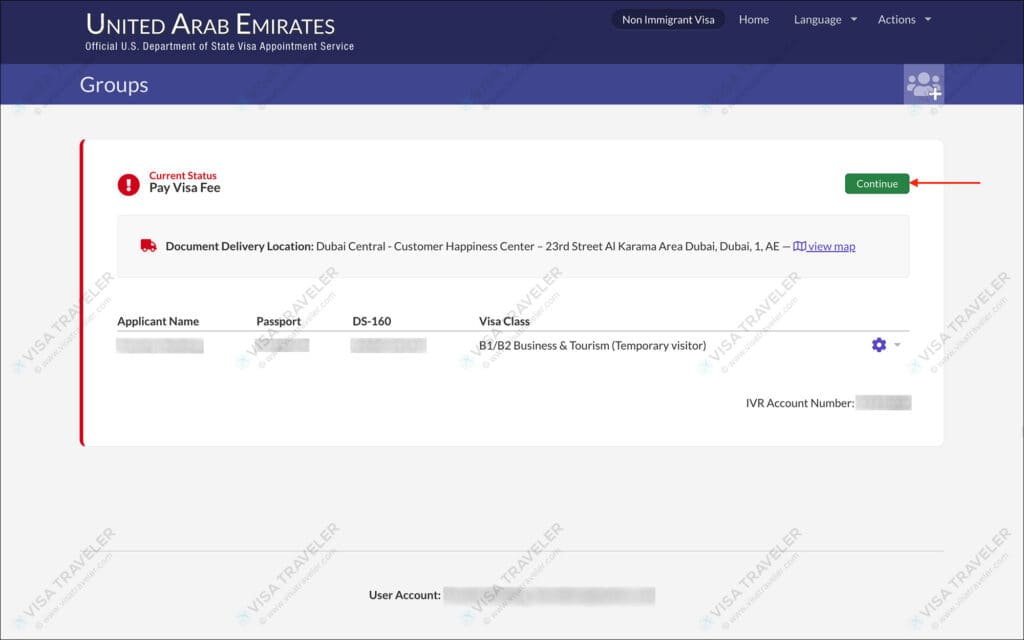
- On the account dashboard, if you see the status as “Pay Visa Fee”. Then your cash payment is not confirmed yet.
- Click on the green “Continue” button.
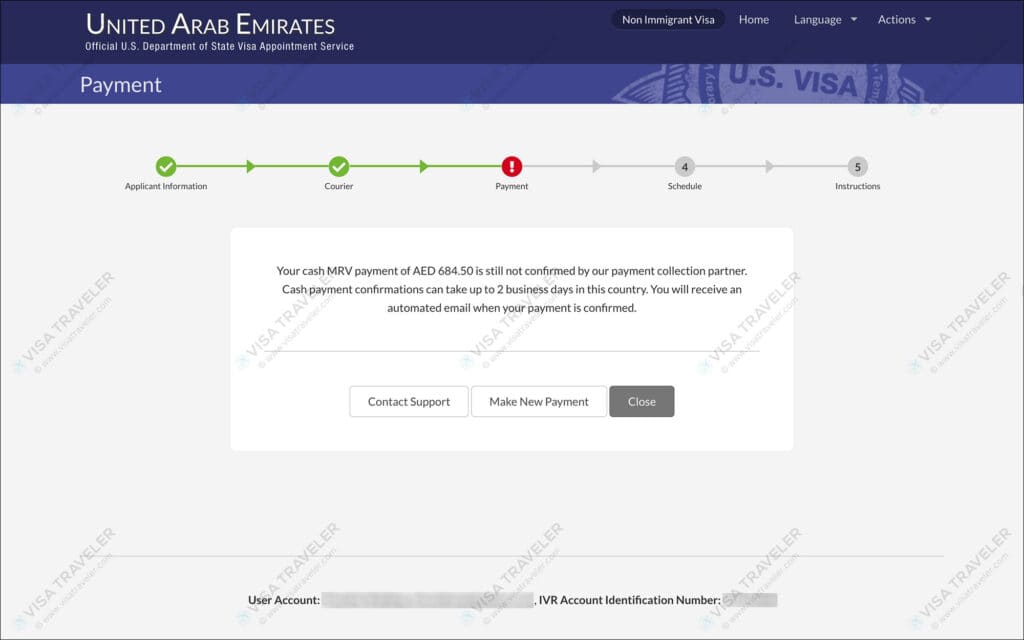
On the payment page, if you see a “still not confirmed” message, just wait for sometime and check again. Once the cash payment is confirmed, you will be taken the “Schedule” page automatically.
b. Pay by Credit Card
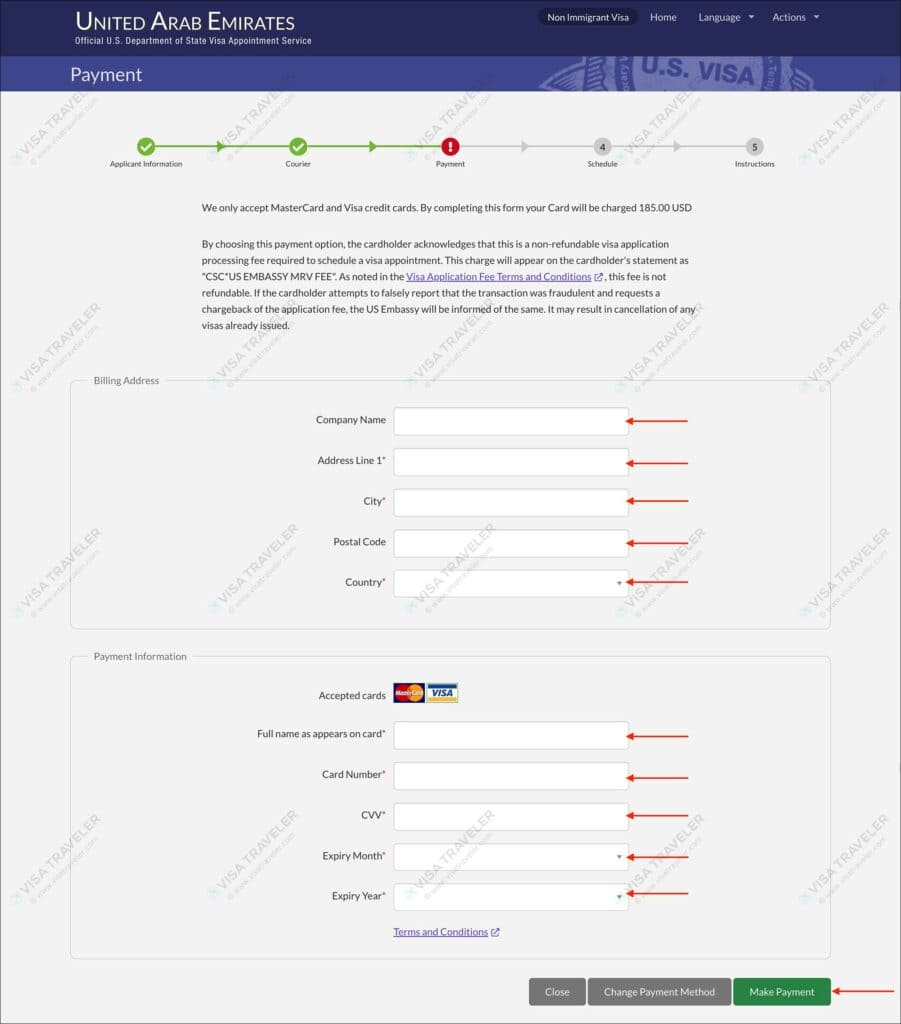
If you have selected the option “Pay by Credit Card” on the payment page, you will be taken to the credit card form. Follow the below steps to pay your visa fee by credit card
- Enter your Billing Address
- Enter your Credit Card details
Click on the green “Make Payment” button. Your payment will be confirmed and you will taken to the “Schedule” page.
05. Schedule
On this page, pick the date and time for your fingerprints and photo appointment.
Click on “Continue”.
Pick the date and time for your visa interview appointment.
Click on “Continue”. You will be taken to the confirmation and instructions page.
NOTE
Appointment for fingerprints and photo is ONLY REQUIRED in certain countries such as Mexico, etc.
06. Instructions
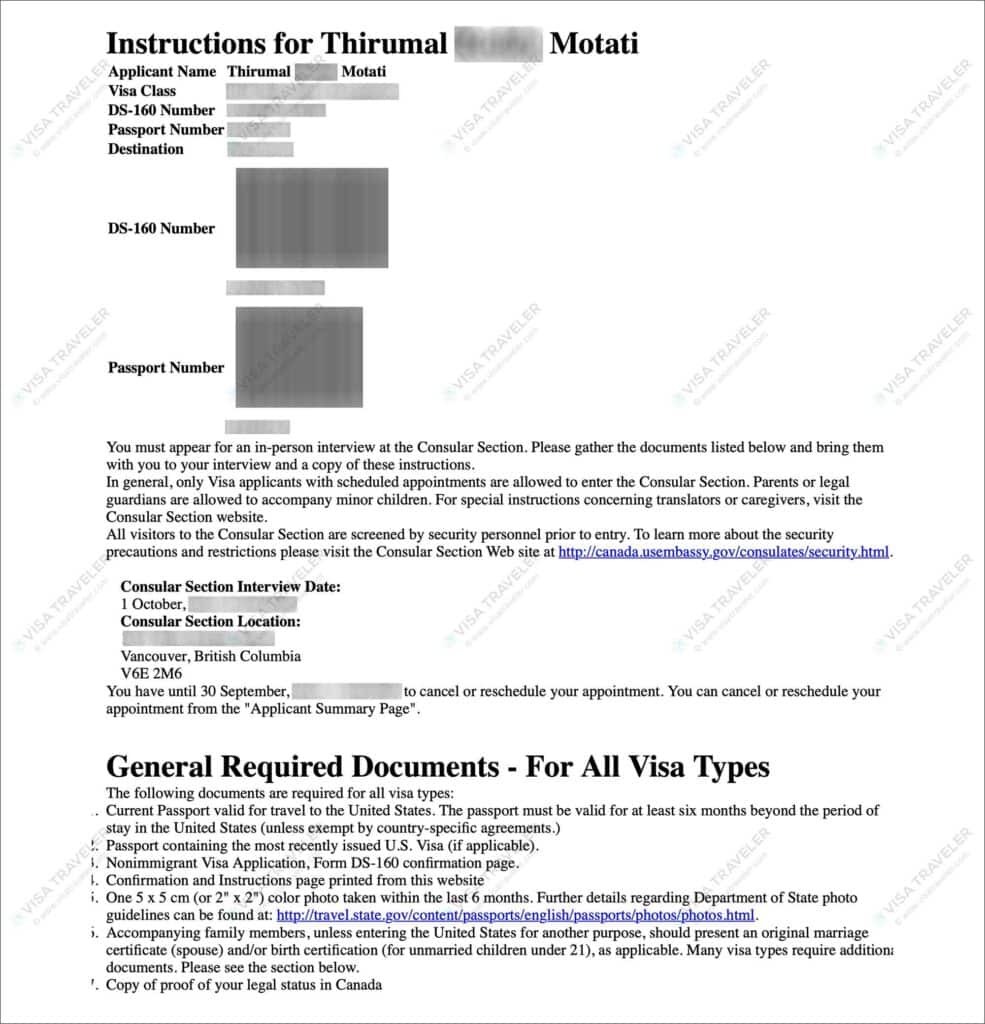
On this page, your fingerprints/photo appointment confirmation and US visa interview appointment confirmation will be displayed
Print these confirmation letters. You will need a copy of these confirmations for your fingerprints/photo and US visa interview.
Good luck!

 DS-160 Form for US Visa: Everything You Need to Know
 US Visa Appointment: Everything You Need to Know
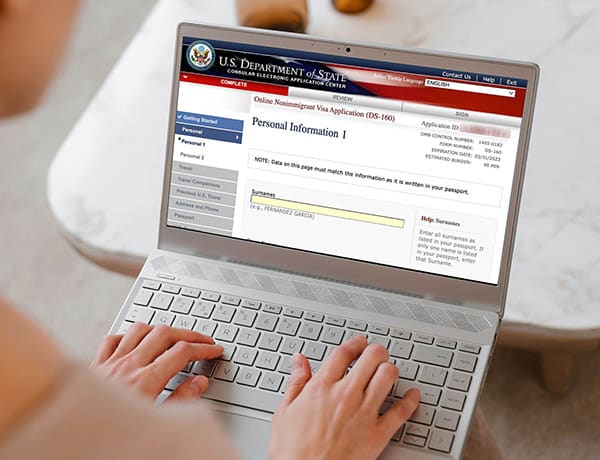 Telecode that represents your name: How to answer this question in DS-160 form for US visa
Leave a Reply